Boat Pose: How to Build Core Strength with Navasana

Boat pose builds serious core strength. Here's how to practice it safely, modify it for your level, and know when you're doing it right.
You're at home on your mat, ready to practice. You want to build real core strength—not just go through the motions. Boat pose, or Navasana, is one of the most direct ways to get there. But if you've ever tried it, you know it's demanding. Your legs shake. Your back rounds. You're not sure if you're actually strengthening anything or just straining your neck. The good news: when you understand the mechanics and learn the proper alignment, boat pose becomes a legitimate, sustainable tool for core development. It's not about how long you hold it. It's about how you hold it.
What Is Boat Pose and Why It Matters
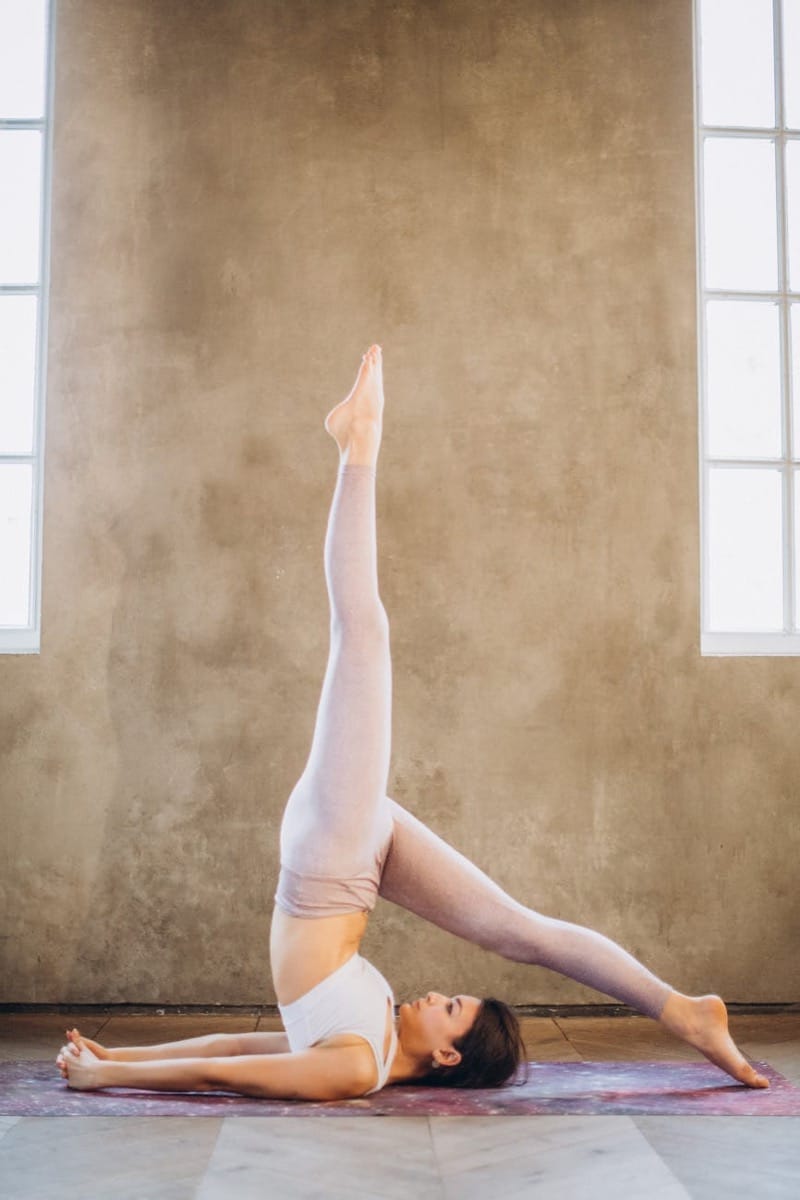
Navasana translates to "boat pose"—nava meaning ship or boat in Sanskrit. The shape your body makes in this asana resembles a boat floating on water. It's a seated balance pose that requires significant abdominal engagement, hip flexor strength, and spinal stability all at once. Unlike crunches or planks, boat pose demands integration. Your deep core muscles, rectus abdominis, obliques, and transverse abdominis all fire together. Your hip flexors lengthen under load. Your spine stays neutral rather than flexing. This is why practitioners of all levels find value in it—and why it's worth learning to do correctly.
The Anatomy of Proper Boat Pose
Getting Into the Pose
Start seated on your mat with your knees bent and feet flat on the floor, hip-width apart. Your hands rest behind you, fingers pointing toward your feet. Press your hands into the mat and lengthen your spine. This is your foundation. From here, lean back slightly—just enough that your feet naturally lift off the ground. Your shins should be parallel to the floor, thighs at roughly 45 degrees. Your hands can stay behind you as you build strength, or lift toward your ears in the full expression of the pose. The key: your chest stays lifted. Your shoulders roll back and down. Your gaze is forward, not down at your abdomen.
Alignment Checkpoints
Your spine should feel long, not collapsed or hunched. If your lower back rounds, you've leaned back too far. Bring your chest forward slightly—the front of your torso stays broad. Your ribs should not splay. Engagement in your core should come from drawing your navel toward your spine, not from gripping. Your legs are active: press your thighs forward and your shins back as if they're being pulled in opposite directions. This internal rotation in the hip sockets protects your lower back. Your shoulders are not hunched toward your ears. If you're lifting your hands, they're at shoulder height, not pressing into your chest. Breathe. You should be able to take steady, full breaths—a sign you're not over-gripping or bracing.
Common Mistakes and How to Fix Them
Rounding the Lower Back
This is the most frequent error. It happens when you lean back too far, trying to find balance or impress yourself with a deeper hold. The result: your lower back takes the load instead of your core. Your lumbar spine flexes when it should stay neutral. The fix: reduce your lean. Keep your torso more upright. Press your thighs forward actively. If your lower back still rounds, bend your knees more deeply—your shins can be more vertical. There's no prize for a deeper angle when your alignment suffers.
Collapsing the Chest
Your shoulders creep toward your ears. Your chest folds inward. You're now using your neck and upper traps instead of your core. The fix: before you lift your feet, establish length in your spine. Feel the back of your heart center lifting. As you hold the pose, imagine someone is gently pulling a string attached to the crown of your head—that's the direction of your gaze and intention.
Holding Your Breath
The pose is hard, so you hold your breath. This increases intra-abdominal pressure and actually prevents deeper core engagement. The fix: before you lift your feet, take three full breaths. Exhale completely. Then lift and hold while breathing normally. If you find yourself breath-holding, you're either holding too long or in a variation that's too advanced for your current strength.
Modifications for Every Level
Beginner: Hands Behind You, Bent Knees
Keep your hands planted on the mat behind your back, fingers pointing toward your feet. Lift only one foot at a time, or keep both feet low and knees deeply bent. Hold for 3-5 breaths. This builds the foundational strength needed without overwhelming your system. Practice this for 1-2 weeks before progressing.
Intermediate: Hands Forward, Bent Knees
Hands move to shoulder height, parallel to the ground or extended toward your shins. Your knees stay bent, shins parallel to the floor. This reduces stability and increases core demand. Hold for 5-8 breaths. Rest. Repeat 2-3 rounds.
Advanced: Legs Extended
Full navasana: hands extended, legs straight, feet at eye level. This is the complete pose and demands significant strength. If you're here, focus on maintaining neutral spine and steady breathing rather than duration. 5-10 breaths is plenty. Quality over time, always.
Building a Boat Pose Practice
Start with your modification 2-3 times per week. Hold for 3-5 breaths per round, with rest between rounds. As your nervous system adapts—usually after 2-3 weeks—increase either the duration or the number of rounds, not both at once. Progress to the next variation only when the current one feels controlled and sustainable. You should finish feeling worked but not wrecked. If you're shaking intensely, your form has likely degraded. Come out and rest. The mind often wants to push harder than the body is ready for. Listen to the body.
What to Expect Over Time
Within 2-3 weeks of consistent practice, your deep core will feel more engaged in other poses—warrior poses, standing balances, backbends. Your posture likely improves because you've strengthened the muscles that hold you upright. Your lower back may feel less fatigued at the end of the day. Many practitioners report improved stability in inversions like headstand or forearm stand after building a solid boat pose practice. These changes happen quietly, without fanfare. That's real strengthening. It's not dramatic. It's reliable.
When to Step Back
If your lower back hurts—not a work-hard sensation, but actual pain—reduce your depth immediately. Return to a modification with more bent knees and hands behind you. If you have a known spinal injury or disc issue, work with a qualified yoga teacher before practicing boat pose. If you're pregnant, navasana can be adapted: lean back less, reduce duration, and prioritize breath. Listen closely to what your body tells you. The pose will be there when you're ready for the deeper version.
Subscribe to the newsletter
Subscribe to my newsletter to get the latest updates and news