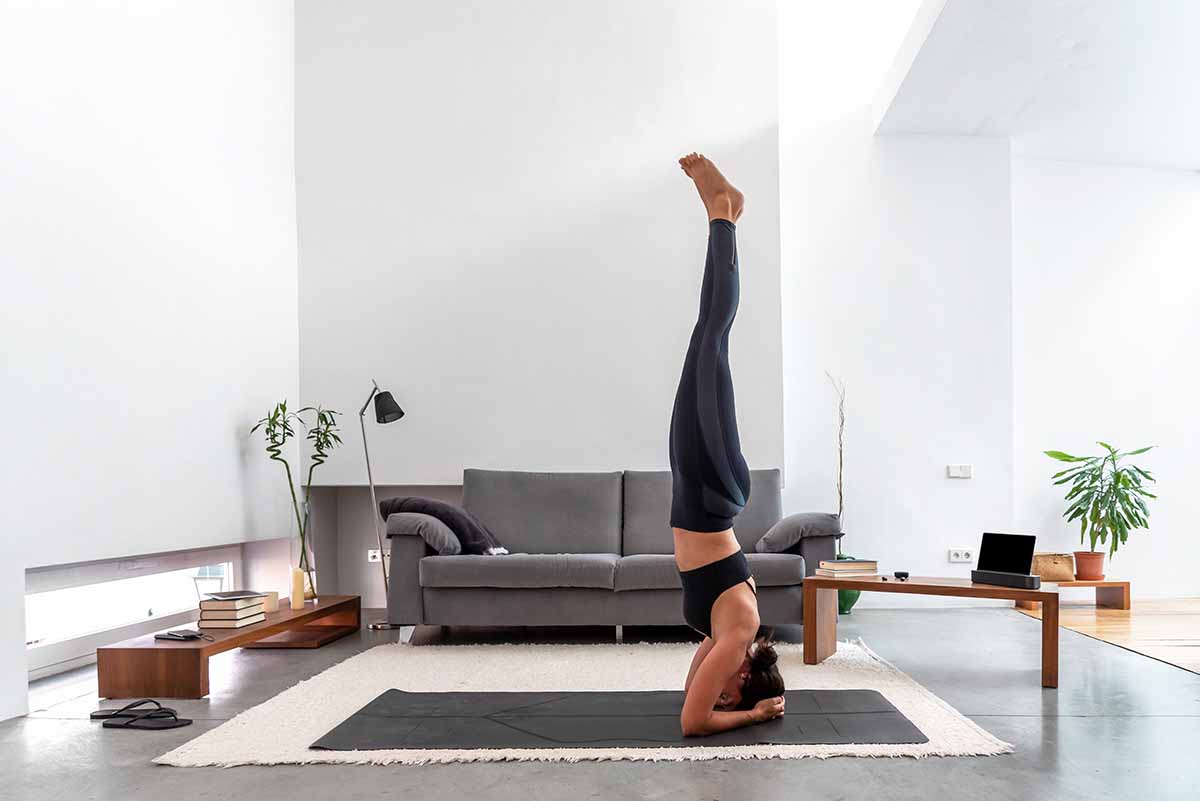
f you’ve spent enough time doing or watching other people do yoga or gymnastics, you’ll come to realize that handstands are a big part of the practice. Handstands have many benefits including strengthening of your shoulders, arms, neck, back, and core which in turn can increase your overall balance. Handstands are also beneficial in improving blood circulation which in turn helps your organs to function properly and improves overall health.
Many people are intimidated about the idea of doing a handstand but the great part of learning to do a handstand is that there is no rush. With that in mind, there are 7 steps that build upon each other to take you from and upright standing position to a handstand.
In the following we will discuss what exactly makes handstands so hard, as well as seven concrete steps to take to help you build up your strength and confidence. As a bonus, we offer an alternative method taken from a gymnastic perspective as opposed to a yoga perspective that may work better for you. Read on to find out how you can master a handstand once and for all.
Article Topics
Why Are Handstands So Hard?
There’s no getting around it: Handstands are hard! But why exactly? Some of it is mental. Being upside down is not something we are used to and that can be hard to get past. There is also the natural physical difficulty of it. Handstands require a lot of strength from various body parts which may not have received as much attention in your workout routine as others-the core in particular, which is the most important part of holding balance.
However, another reason is that you may be holding or trying to get into position in ways that may be making you work harder. In the following we will discuss the different positions you can use to start working on your handstand, as well as an alternative method that may work better for you and your experience level.
To learn more deeply about doing the perfect handstand checkout the best online handstand courses!
7 Steps to Doing a Perfect Handstand
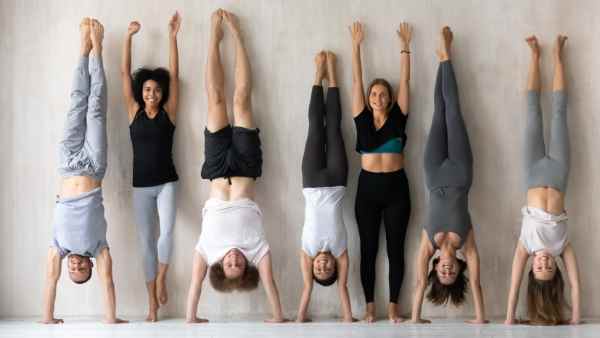
As with any big undertaking or goal, if you break a handstand down into steps or smaller goals it does not feel as overwhelming, and you are more likely to keep working at it instead of quitting. Pick a wall space without a ton of furniture around and be sure to move any clutter that may be lying around. Take a look at the following steps to doing a perfect handstand. All you need is a wall and your body.
Step 1
The first step is to create a standing L-shape. Before you get started, know that to do this correctly you need to be a (straightened) leg’s distance away from the wall. Depending on your height and length of your leg the distance will vary for every person, but you will get there the same way by following these steps:
- Stand facing the wall: Make sure your feet are pointed straight at the wall.
- Lift your right leg as if you’re getting ready to march, extend it and place it so that your foot is flat against the wall: If you find you are struggling to get it to lie flat against the wall at a straight angle, if your extended leg is higher than hip height, or if your knee is bent, adjust your distance from the wall as necessary.
- Make sure that your standing leg is not extended either too far forward or too far backward: You want your femurs to be at a right angle.
Once you have adjusted and reached the correct distance from the wall, it is time to incorporate your arms. Reach your arms directly overhead. Make sure that they are not pressed up against your ears but keep them at shoulder distance. Finally, flex your wrists so they are in the same position they would be in if you were doing a handstand. This will help you build muscle memory which is incredibly beneficial.
Hold this position and take five full breaths. Repeat on the other side. Keep practicing this position daily until you no longer have to think about how exactly to do it properly.
Step 2
The next step to mastering a handstand is the half handstand. First, stand with your back against the wall. Bend forward and place your fingertips where the edges of your heels were in the inverted L position. If you’re not sure where that was, you can always use a bit of tape to mark the area. Next, come into a downward dog.
Lifting one leg at a time, place them at the same height and position they were in for inverted L with your feet pressed flat against the wall. If your knees are not already pressed together, go ahead and do that and make sure they are pointed straight toward the floor along with your toes. Make sure your arms are next to your ears and not too wide to help you balance and give support. Reach your sitting bones up to the ceiling. Hold this position for 10 breaths.
After you come out of this position, do a forward fold or Utanassana. This position will help stretch out and take the pressure off the back muscles that were used in the half handstand.
Once you feel you have mastered the half handstand, you can stop up the difficult level by doing a half handstand with one leg lifted off the wall. First get into the half handstand position. Slowly lift your right leg, making sure to keep the kneecap and toes pointed to the ground and lifting with your inner thigh. Keep lifting until it feels as though your right hand and foot are in a vertical line. Hold the position for five breaths and repeat on the other side.
Step 3
The third step takes the half handstand to a bit more of an intense level with the half handstand toe at the wall. With your back against the wall, start off in a forward fold. Next, move your hands out until you are in a downward dog.
From there, lift to a half handstand with one leg lifted. Slowly, press the foot that is against the wall away from the wall until just the ball of the foot is pressed against the wall, continue pressing away from the wall until just the tip of the toe is against the wall. Hold for five breaths, lower the foot and repeat with the other leg.
Step 4
The fourth step-the three-legged downward dog- takes you away from the wall. Starting in a downward dog, lift your leg until there is a straight line going from the left hand to the left leg. Keep your knees and toes pointed downward and lift from the inner thigh. Doing so will help you maintain the straight line that you need both for this position and give you practice for the straight line and muscle focus that you need for a handstand.
Hold for five breaths and repeat with the other leg.
Step 5
Step five is plank with leg lifts. It also takes place away from the wall, and the three-legged downward dog in step four leads directly into it. Lower the leg until you are in a regular downward dog. At this point you want to make sure your hands are under your shoulders not in front of them.
Making sure to keep your knee and toes pointed directly at the ground and lifting from your inner thigh, lift your left leg three or four inches. Hold for five breaths, lift your leg up to three-legged downward dog, and bring it back down. Repeat the entire process on the other side.
Step 6
At long last we reach the last step before the big handstand: Handstand hop ups. This is the point where your body really gets used to the motion and position of getting into a handstand. Start out in a downward dog. Next, move your feet closer to your hands until they are 1/3 the distance. Shift your shoulders forward until they are a couple of inches in front of your wrists.
Keeping in mind all that you have learned about your toes and knees being pointed downward and lifting from the thigh, lift your left leg, while bending your standing leg. Push the ball of the standing foot off the ground using the bent leg to get the necessary force. Attempt to get the lifted leg to a vertical position and your pelvis directly above your shoulder. Keep the bent leg bent, and close to the belly. It will act as a counterbalance.
Try five times and then repeat on the other side.
Step 7
Once you become comfortable with handstand hop ups and are able to hover for a bit, you will naturally be able to ease yourself into a full stand. From this point, all you have to do is (slowly) raise the bent leg until it is next to the straightened leg. Do not rush this process and don’t get discouraged if you are only able to lift it part of the way. Keep practicing and building your strength and balance, and it will happen.
A Great Youtube Video Showing Step by Step How to Do a Handstand
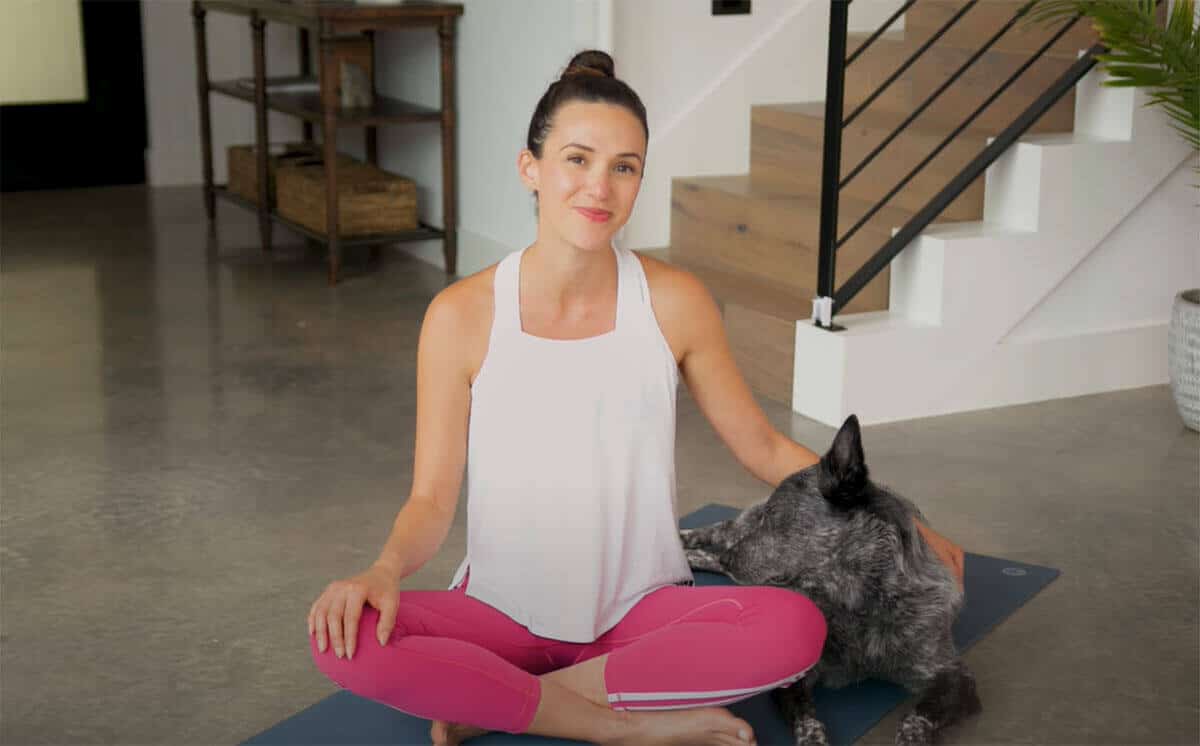
If you have tried the previous or other techniques to get to the point where you can do a handstand and it just doesn’t seem to be working for you, never fear! There is another technique you can try that may work better-the gymnastics technique shown in this video.
Two of the main differences between handstands the yoga way and handstands the gymnastics way are
- In the gymnastics way, you place your hands closer together: As pointed out earlier in the article, to lift up into a handstand the yoga way, you start of in a downward dog where your hands are wider than shoulder width apart. While this position is great for building arm and shoulder strength, it can be tricky getting into and holding a handstand as your balance isn’t as focused.
- In the gymnastics way you squeeze your shoulders up to your ears: Anyone who has practiced yoga knows that there is a big push to keep your shoulders down. However, as Celest points out, by starting out with your shoulders squeezed up, it gives you that extra space to push up into a handstand.
Even though a handstand is one of the most advanced yoga poses ou there, Celest has a bunch of other great tips on how she found a way to do a handstand that worked well for her. Check out her video and give it a try-it may just work for you.
Takeaways
Learning how to do a perfect handstand can be difficult and requires a lot of strength, but it is absolutely doable, if you practice consistently. Don’t be discouraged if it takes you a while to get to the final step. Getting used to the feeling and learning the proper techniques-such as how to lift your leg and how long to hold a position for are incredibly important for preparing you for being able to do a handstand. The plus side is that it builds up your strength, too!
And the awesome thing is it learning yoga is easier than you think. There are apps to help you learn yoga wherever you are!
While many people can learn to do a handstand the yoga way, others may find the gymnastics way easier. Some of the main differences between getting into a handstand using a gymnastics technique as opposed to a yoga technique is that you place the hands closer together and squeeze your shoulders up towards your ears to help push you up into position.
