Pigeon Pose: Hip Opening, Benefits, and How to Modify

If you've ever felt a deep, satisfying stretch in your outer hip during a yoga class, you were likely in pigeon pose. This beloved hip opener is one of the most effective poses for releasing tension stored deep in the hip joint—and it's a staple in studios and home practices worldwide. Whether you're preparing for a deeper yoga practice, looking to ease discomfort from sitting all day, or simply wanting to improve your flexibility, pigeon pose deserves a place in your routine.
But pigeon pose isn't one-size-fits-all. For some students, it's instantly accessible. For others, it can feel intense or uncomfortable. That's why understanding how to modify the pose, align it correctly, and recognize when it's right for your body is just as important as the benefits it offers.
What Is Pigeon Pose (Eka Pada Rajakapotasana Prep)?
Pigeon pose, formally known as Eka Pada Rajakapotasana (which translates to "one-legged king pigeon"), is one of the most intense hip openers in yoga. The version most students practice in beginner and intermediate classes is actually a preparatory pose, sometimes called "low pigeon" or "sleeping pigeon," which is more accessible than the full expression of the pose.
In the basic setup, you start from a tabletop position and bring one leg forward, bending the knee so the shin is roughly parallel to the front of your mat. The back leg extends straight behind you. From there, you can fold forward gently, deepening the stretch, or stay upright depending on your flexibility and what you need on any given day.
The pose targets the piriformis muscle, external rotators of the hip, and the deep tissue of the gluteus maximus. For many people, especially those who sit for hours each day, these muscles become chronically tight. Pigeon pose works directly on that tension in a way few other poses can match.
The Science Behind Hip Tightness
Before we dive into how to do the pose, it helps to understand why your hips might feel so tight in the first place. Your hips are a complex joint—a ball-and-socket joint that's designed for a wide range of motion. But modern life doesn't demand much of that range. Sitting in a chair, car, or at a desk keeps your hip flexors contracted and your external rotators inactive for extended periods.
Over time, this creates muscular imbalances. Your hip flexors tighten while your glute muscles weaken. Tension accumulates in the piriformis, a small but mighty muscle that can even compress the sciatic nerve when it's overly tight, leading to pain radiating down the leg.
The good news? Yoga and targeted stretching can reverse this pattern. Yoga for hip flexors and regular hip opening work helps restore balance, reduce pain, and improve your overall mobility.
Key Benefits of Pigeon Pose
Deep Hip Opening: Pigeon pose is unmatched for accessing the deep external rotators of the hip. This makes it especially valuable for dancers, runners, and athletes who need hip mobility.
Sciatica Relief: By releasing tension in the piriformis, pigeon pose can help ease sciatic pain. Many students report noticeable relief after consistent practice, though severe sciatica should always be discussed with a healthcare provider.
Improved Flexibility and Range of Motion: Regular practice gradually increases your hip's available range of motion, making daily activities—walking, climbing stairs, picking things up—easier and more comfortable.
Reduced Lower Back Tension: Tight hips often pull on the lower back and sacroiliac joint. Opening the hips can ease low back discomfort and improve spinal alignment.
Better Posture and Gait: As your hips open and balance, your posture naturally improves. You'll stand taller, walk more freely, and reduce compensatory strain elsewhere in your body.
Stress and Emotion Release: It's not just folklore—hips do hold emotional tension. Many students experience emotional releases in deep hip openers, and there's growing recognition in the yoga and somatic therapy communities that stored stress manifests in chronically tight muscles. Opening your hips can be part of a holistic stress-relief practice.
Step-by-Step Alignment for Basic Pigeon Pose
Starting Position: Begin on your hands and knees (tabletop). Make sure your wrists are under your shoulders and your knees are under your hips.
Bring Your Right Leg Forward: From tabletop, step your right foot forward toward your right wrist. Your right shin should be roughly perpendicular to your body—aim for the front of your mat, though the angle will vary depending on your flexibility. The more flexible your hips, the more parallel your shin can be to the front of the mat. If you're tighter, your shin might angle more toward the center.
Square Your Hips: This is crucial. Try to level your hip points so they face straight forward, rather than letting your right hip roll open toward the ceiling. Your left hip will naturally lift slightly, but resist the urge to let it rotate. This alignment ensures you're stretching evenly and protecting your knee.
Extend Your Back Leg: Straighten your left leg behind you, tops of the foot resting on the mat. If this feels intense on your hip flexors, you can tuck your toes under for a gentler variation.
Choose Your Depth: Now comes the choice. You can stay upright on your hands, fold forward gently over your front leg, or somewhere in between. Move slowly and mindfully. The stretch should feel significant but never sharp or pinching, especially in the front of the hip or knee.
Hold and Breathe: Stay here for 5-10 breaths minimum, gradually working up to 30-60 seconds or longer as your flexibility improves. Use full, deep breaths to signal safety to your nervous system and allow deeper release.
Repeat on the Other Side: Come back to tabletop, shake out your legs, and repeat on the left side.
Modifications for Different Body Types and Flexibility Levels
Not every body will find pigeon pose immediately accessible—and that's perfectly normal and okay. Yoga is not about forcing your body into shapes. It's about meeting yourself where you are and progressing mindfully.
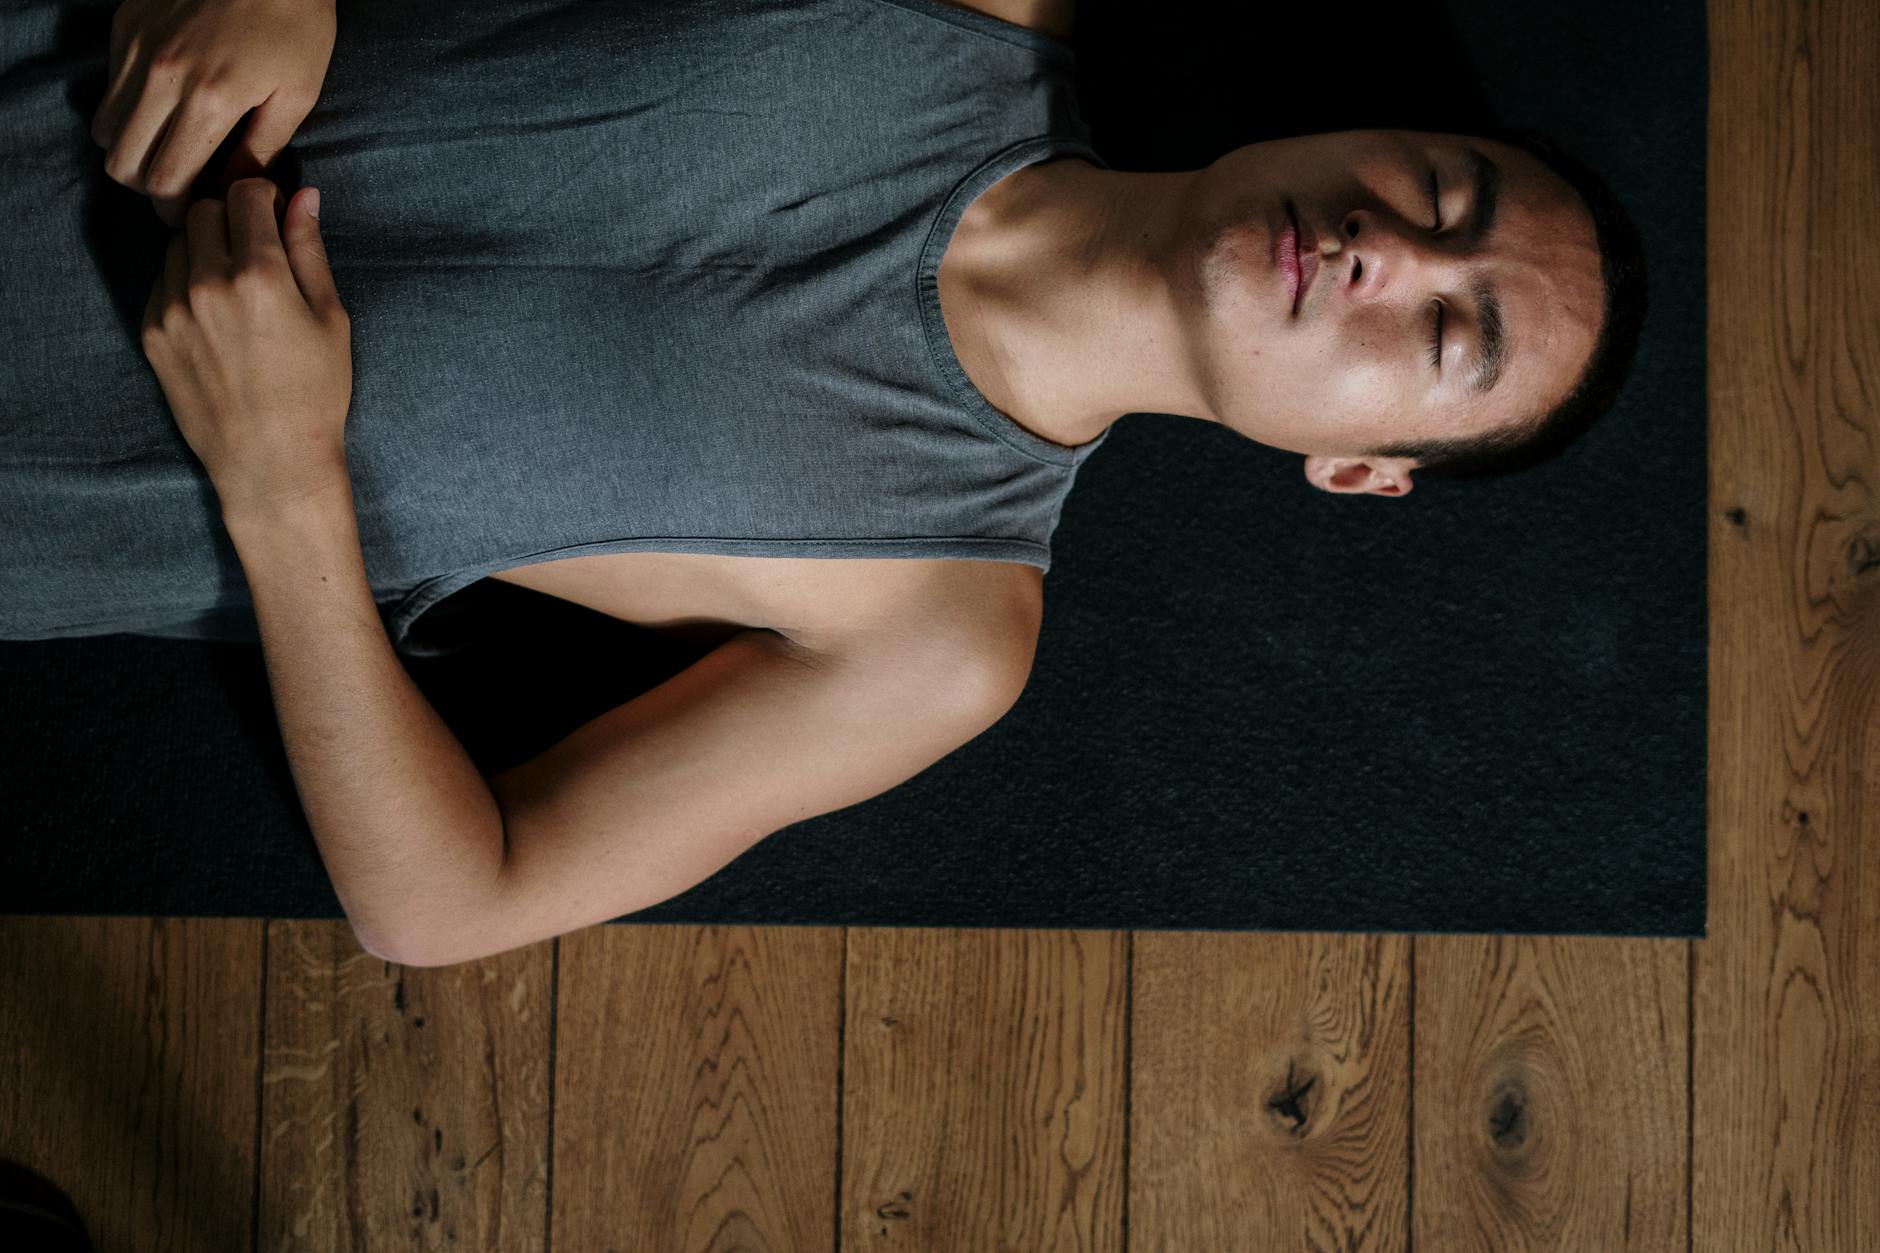
Reclined Pigeon (Sleeping Pigeon): If sitting pigeon feels too intense, try the reclined version. Lie on your back, bend both knees with feet on the floor, then cross your right ankle over your left knee, creating a figure-four shape. Gently draw your left thigh toward your chest. This reduces weight-bearing stress and gives you excellent control over intensity.
Pigeon Pose at the Wall: Sit with your back against a wall, bring one leg forward into the pigeon position, and use the wall for support. This variation is gentler and great for beginners.
Half Pigeon with Blocks: If folding all the way forward feels out of reach, place a yoga block under your front hip for support. This allows you to hold the pose longer without straining.
Thread the Needle: Another excellent reclined variation where you're on your back and thread one foot through your hands while pulling the opposite shin toward you. This is especially accessible for seniors and anyone with knee sensitivity.
Cow Face Pose (Gomukhasana): If pigeon consistently bothers your knees, cow face pose offers a different angle of hip opening that may feel better for your body.
Common Mistakes to Avoid
Forcing Your Front Shin Parallel: Your anatomy is unique. If your hip structure means your front shin naturally angles inward rather than staying perpendicular, forcing it can strain your knee. Work with your body, not against it.
Letting Your Front Hip Roll Open: It's tempting to let that front hip rotate toward the ceiling—it feels relieving. But this reduces the effectiveness of the stretch and can create imbalance. Square your hips as much as possible.
Folding Too Deeply Too Soon: If you're new to the pose, stay upright or fold just slightly for your first few weeks. Deep folds put significant stress on the front knee. Progress gradually.
Holding Your Breath: Tight hips often correspond with breath-holding. Your nervous system tightens when you hold tension in your breath. Make sure you're breathing fully and continuously throughout the pose.
Ignoring Sharp Pain: There's a big difference between a deep stretch and pain. Sharp sensations in the front of the hip or knee are a red flag to ease back. Pigeon should feel intense but never painful.
Sequencing Pigeon Pose Into Your Practice
Pigeon pose works best when your hips and body are already warmed up. A good sequence might include downward dog, warrior II, and other standing poses to generate heat and prepare the joints. From there, you can move into gentle hip openers like figure-four stretches before practicing pigeon itself.
Pigeon is traditionally practiced later in class, often near the end of the standing sequence and before backbends or inversions. Many teachers also use it as a cool-down pose, holding it longer and allowing it to melt into deeper relaxation.
If you're practicing at home, consider pairing pigeon with hip-focused sequences.
Subscribe to the newsletter
Subscribe to my newsletter to get the latest updates and news