How to Build a Yoga Sequence: 5 Steps to Teaching or Practice That Works

A yoga sequence isn't random poses. Learn the 5-step framework for building coherent, purposeful sequences that serve your students—or your own practice.
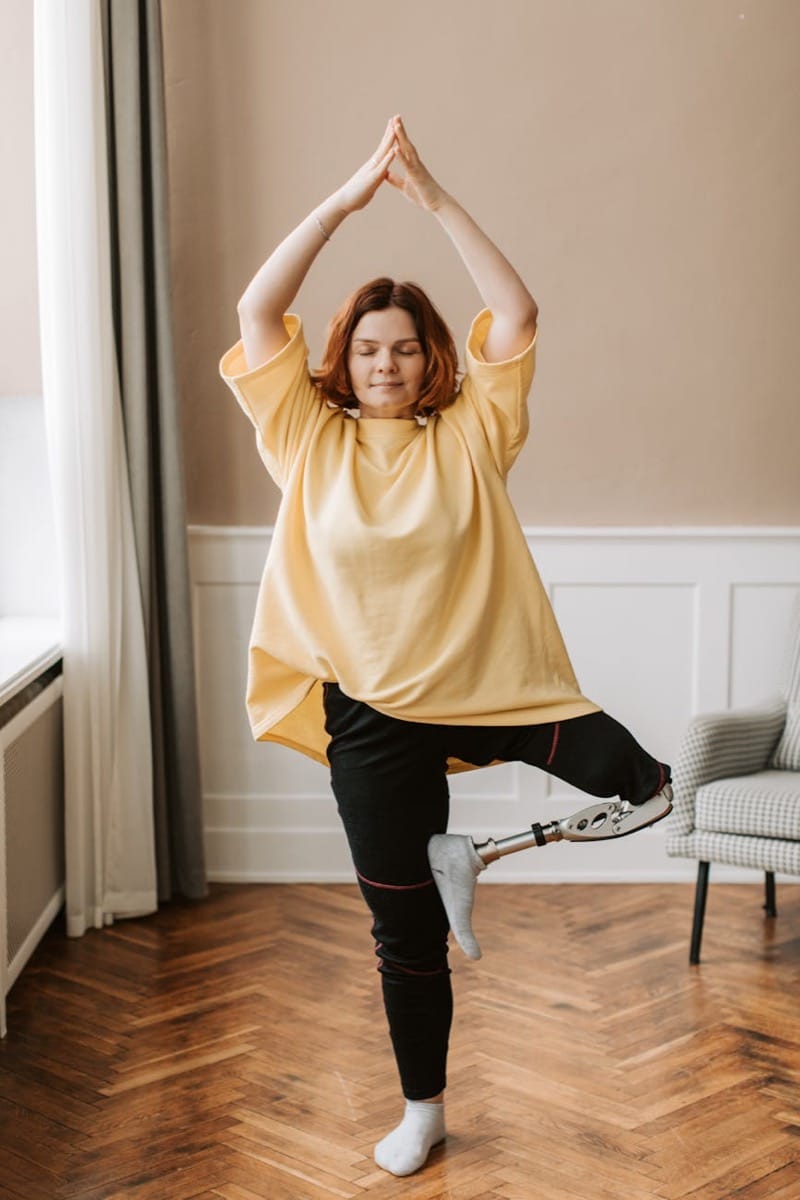
You're standing at the front of your mat, or perhaps you're teaching a class soon, and you want to know: how do I put together a sequence that actually works? That feels coherent, serves the bodies in front of me, and honors the real purpose of yoga?
With an estimated 300 million practitioners around the world, yoga has become a familiar part of many people's wellness routines. Yet yoga isn't just a series of poses strung together. The philosophy runs deeper. A yoga sequence is a structured progression of poses arranged with intention—to warm the body, build heat, challenge strength, or guide practitioners toward a specific result like calm, clarity, or relief from tension.
The Yoga Sutras of Patanjali remind us that yoga is "chitta vritti nirodhah"—the stilling of the mind. Every pose, every breath, every transition should serve that aim. When you assemble a sequence thoughtfully, you create a container where that stilling can happen.
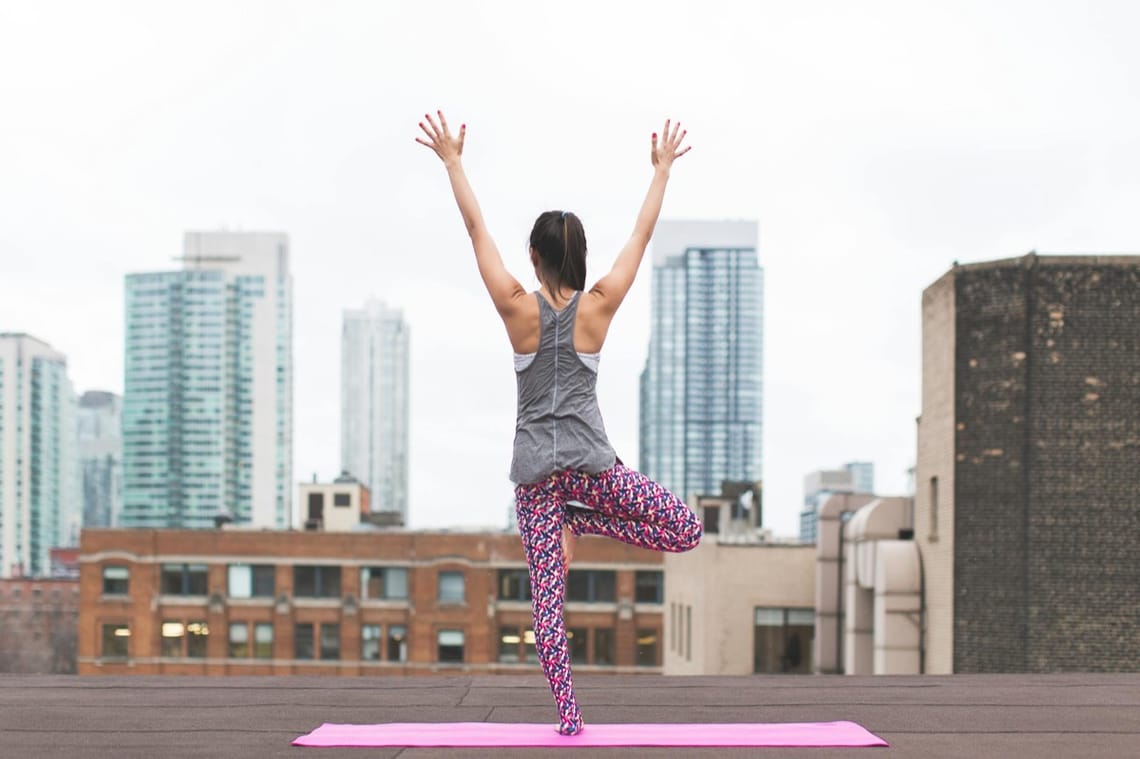
Step 1: Begin With Your Intention
Before you choose a single pose, know why you're building this sequence. Are you teaching a 60-minute all-level class? A 90-minute vinyasa flow? A gentle restorative session for stress relief? A targeted sequence for lower back care?
Your intention shapes everything that follows. The Niyama of svadhyaya—self-study and honest inquiry—applies here too. Ask yourself: What does this particular group of students need? A morning energizer demands different poses than an evening wind-down. A class for athletes recovering from running injury needs a different arc than a general stability class.
Write your intention down. Keep it specific. "A 45-minute gentle flow to release tension from the neck, shoulders, and upper back" is clearer than "a relaxing class." This clarity guides every choice you make next.
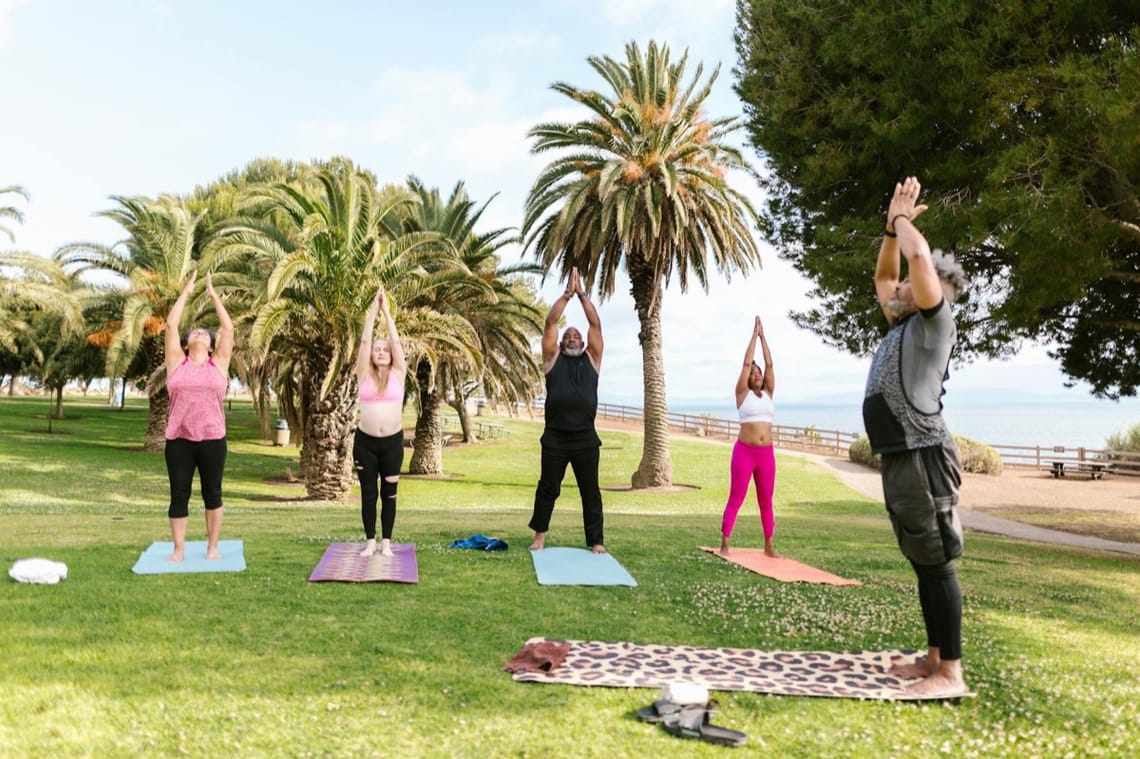
Step 2: Plan Your Opening and Closing
The beginning and end of a sequence anchor the entire experience. They deserve careful thought.
Most skilled teachers begin with a moment of arrival—seated on the mat, feet on the ground, hands on the heart. This might be 2-3 minutes of centering, perhaps with three rounds of ujjayi breath (the ocean-sounding breath that steadies the mind). You're inviting students to transition from the busyness of their day into the present moment. This honors the Yama of ahimsa: do no harm to the nervous system by forcing people into intensity without preparation.
Your closing mirrors this. The final 10-15 minutes of class should include Savasana (corpse pose), preceded by gentle poses that slow the heart rate and calm the nervous system. Supported reclined twists, legs-up-the-wall pose (viparita karani), or supported child's pose prepare the body and mind for stillness. End with at least 5 minutes of Savasana. This is non-negotiable. It's where integration happens.
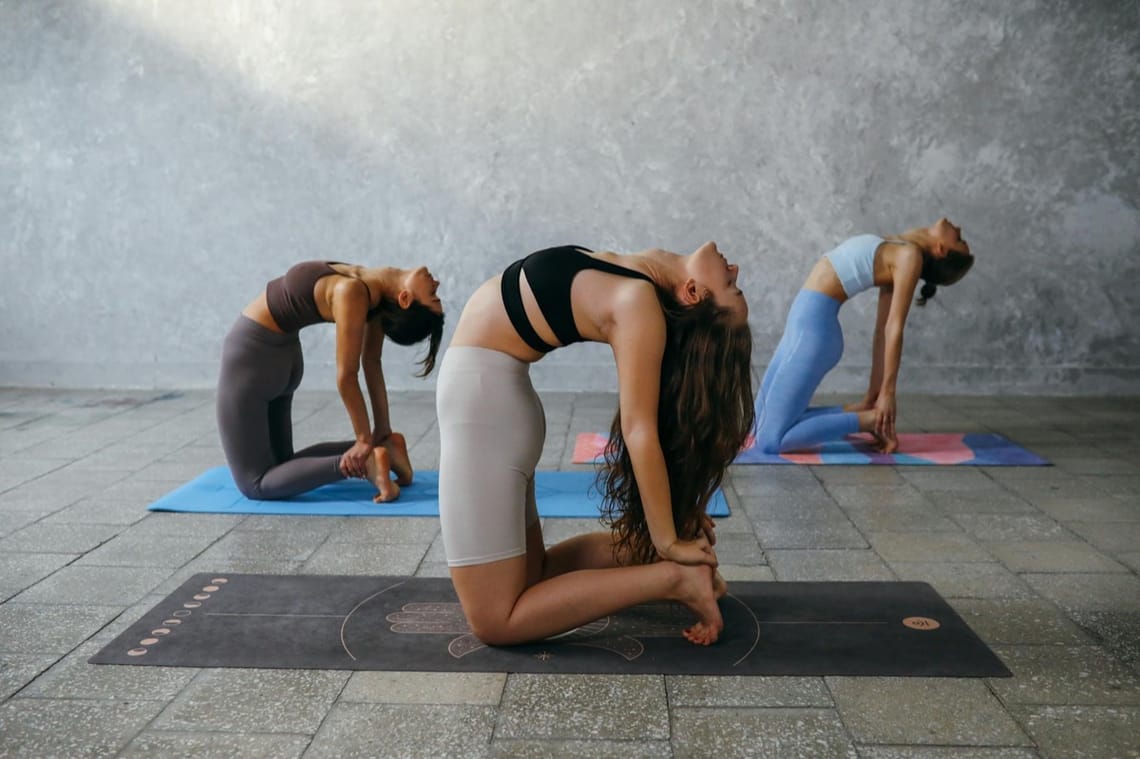
Step 3: Build the Arc: Warm, Peak, and Wind Down
Think of a sequence as a journey with three clear movements. After your opening, you enter the body, build heat and attention, reach a peak, then gradually settle.
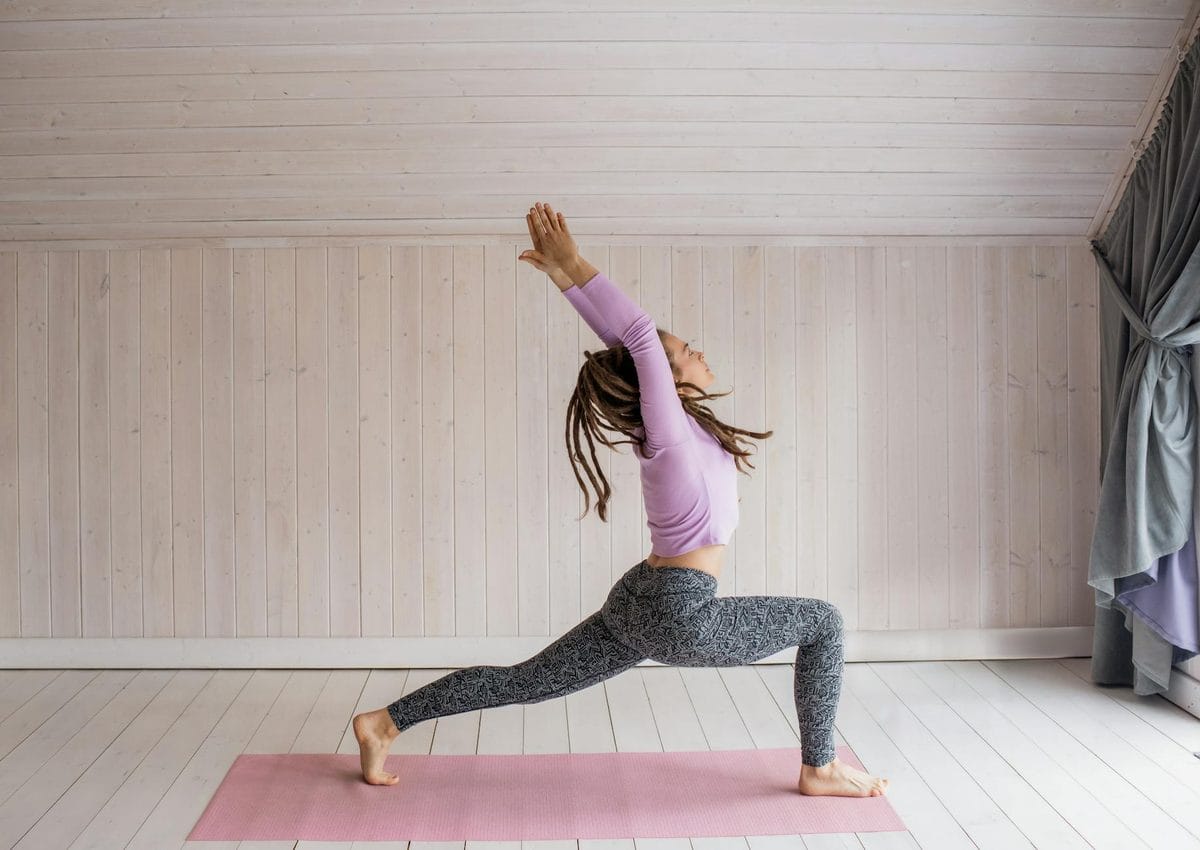
The warm-up phase (5-10 minutes) includes gentle movements that increase circulation and prepare joints. Cat-cow stretches (marjaryasana-bitilasana), shoulder rolls, and wrist circles work well here. If you're teaching a vinyasa flow, you might move into sun salutations (surya namaskar A and B) to build heat and establish rhythm with breath.
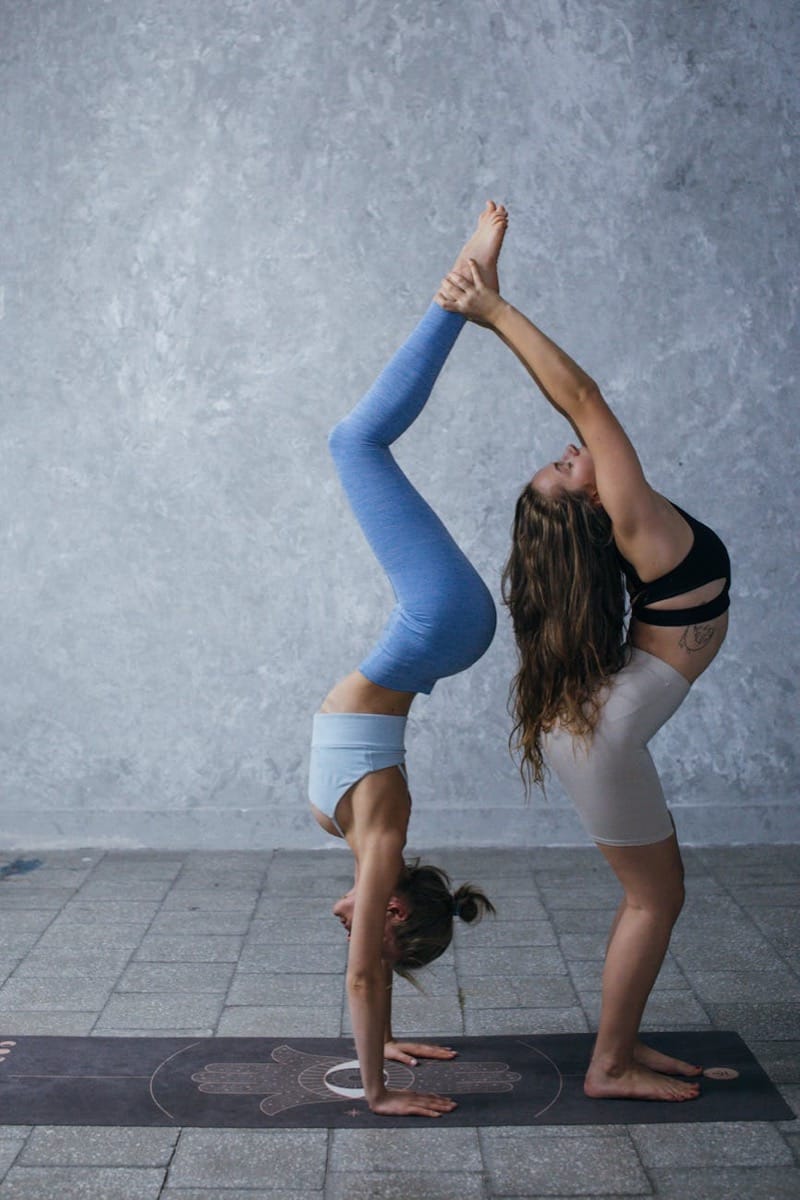
The peak phase is where your intention becomes most visible. If you're building toward arm balances, standing balance poses, or deep backbends, this is the section where those asanas live. If your intention is therapeutic (say, lower back relief), this is where you'd place focused core work, hip openers, and spinal awareness poses. This phase typically takes up 40-50% of class time.
The wind-down phase (10-15 minutes before Savasana) brings students out of intensity. Heart rate drops, poses become gentler and more restorative. Forward folds, seated twists, and supported inversions signal to the nervous system that it's safe to rest.
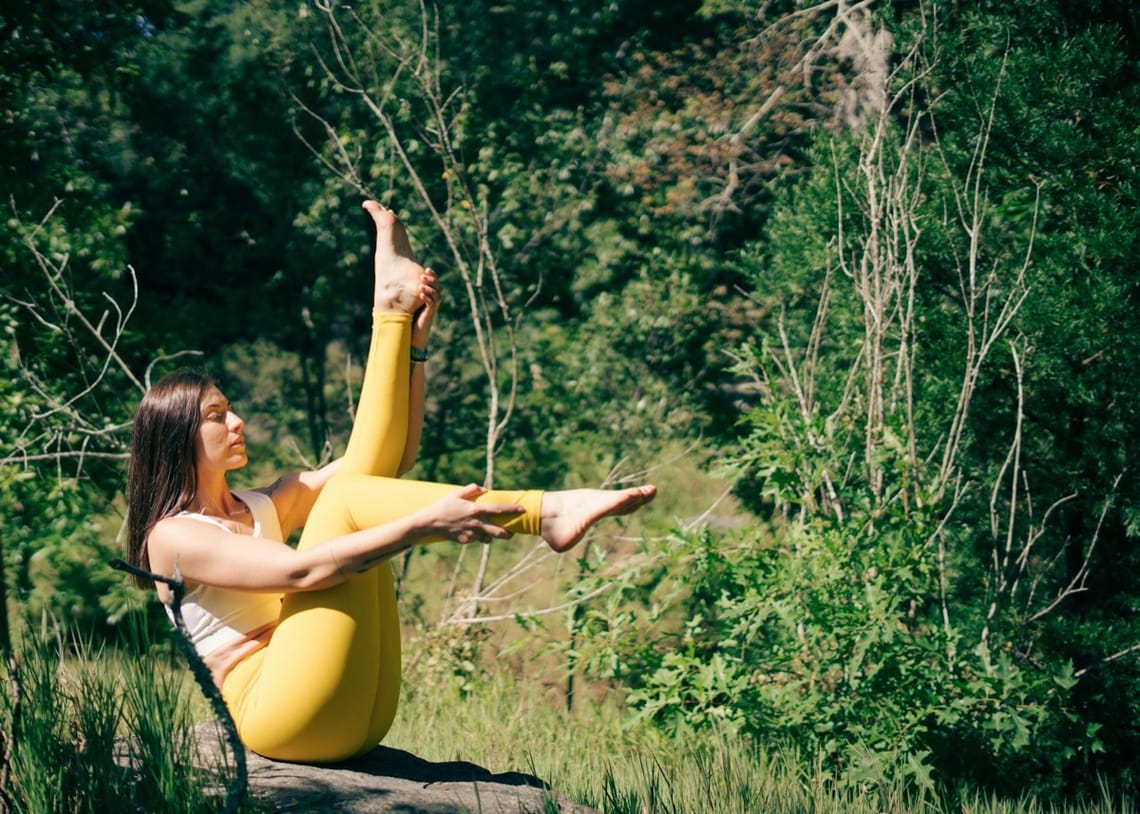
Step 4: Respect Anatomical Logic and Breath Flow
A strong sequence moves the spine in all directions—forward folds, backbends, twists, and lateral bends—in an order that makes anatomical sense. You wouldn't teach deep backbends before warming the spine, or expect students to hold a difficult balance pose when they're mentally scattered.
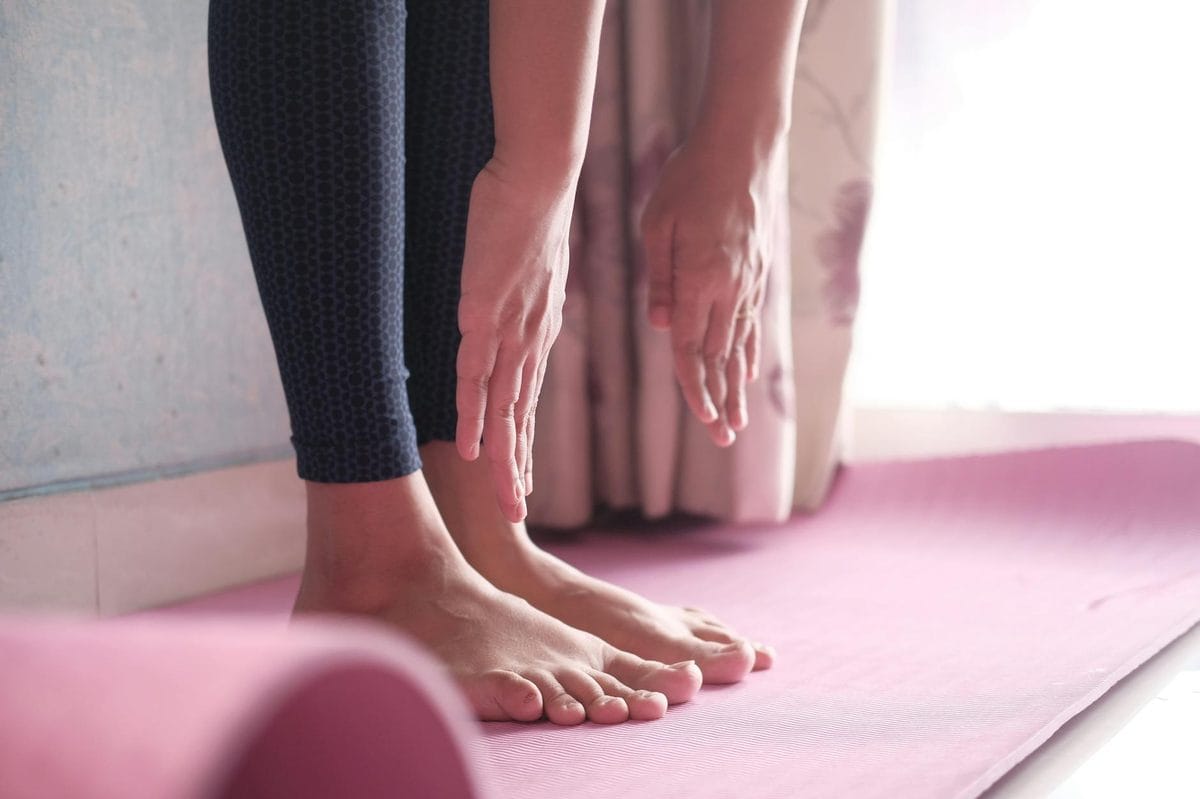
Begin with neutral spine work. Progress to flexion (forward bends), then extension (backbends). Add rotation (twists) and lateral movement. This protects students' bodies and respects how vertebrae and connective tissue need to be prepared.
Equally important: align your poses with breath. In vinyasa flow, typically you inhale during backbends and expansive poses (urdhva mukha svanasana, upward dog), and exhale during forward bends and introspective poses (adho mukha svanasana, downward dog). This isn't rigid dogma—it's physiology. Inhalation naturally lengthens the spine and lifts the chest. Exhalation naturally encourages folding and release.
Step 5: Test Your Sequence and Adjust
Write out your full sequence on paper or use a sequencing app like Asana Rebel or ClassPass's teacher tools (both offer free or low-cost options for building sequences). Include pose names in English and Sanskrit, hold times, and cues for breath awareness.
Then—practice it yourself. Move through it on your own mat. Does it flow? Do the transitions feel natural? Are there gaps where you've forgotten a key warm-up? Is the pacing sustainable for the time you have?
Pay attention to how your own body feels. If a sequence of poses leaves you fatigued or disoriented, your students will feel that too. Adjust. Maybe move a challenging pose earlier so students have more recovery time. Maybe add an extra grounding pose between two intense sequences.
If you're new to teaching, consider having an experienced mentor review your sequence before you share it with students. Many yoga studios and teacher training programs (like Yoga Alliance RYT-200 programs) offer peer feedback for sequencing. The investment in feedback now saves missteps later.
Practical Sequencing Tools and Resources
Several tools can support your sequencing work. Asana Rebel offers templates and guidance for building flows aligned with different intentions. Class Passport is a planning app used by many yoga studios. For a more traditional approach, Yoga International and the International Association of Yoga Therapists (IAYT) offer sequencing courses that dive into therapeutic applications of yoga.
Many teachers also keep a simple notebook where they sketch out sequences—literally drawing stick figures in poses to see the visual arc of the class. This tactile, low-tech approach can be surprisingly useful.
The Heart of Good Sequencing
At its core, assembling a yoga sequence is an act of care. You're creating a safe, intentional space where people can meet their bodies and minds. You're honoring both the science of anatomy and the deeper philosophy of yoga as a practice of presence and release.
Follow these five steps—set your intention, frame your opening and closing, build a clear arc, respect anatomy and breath, and test your work. Your sequences will serve your students well. And over time, you'll develop intuition about what works, when to adjust, and how to hold the space for real change.
Subscribe to the newsletter
Subscribe to my newsletter to get the latest updates and news